Cutting AI garment pictures so they hang true: a signed key, hook points and shadows for a CSS rail
The Python pipeline behind Hangline's AI-generated garment pictures: a signed LAB key, clean edges, hook points found by shape, colourways, shadow masks and an edge audit. 21 lessons.
Ramin ValadanProved GitHub account and website, confirmed e-mail: checked by UpFork·28 min read·
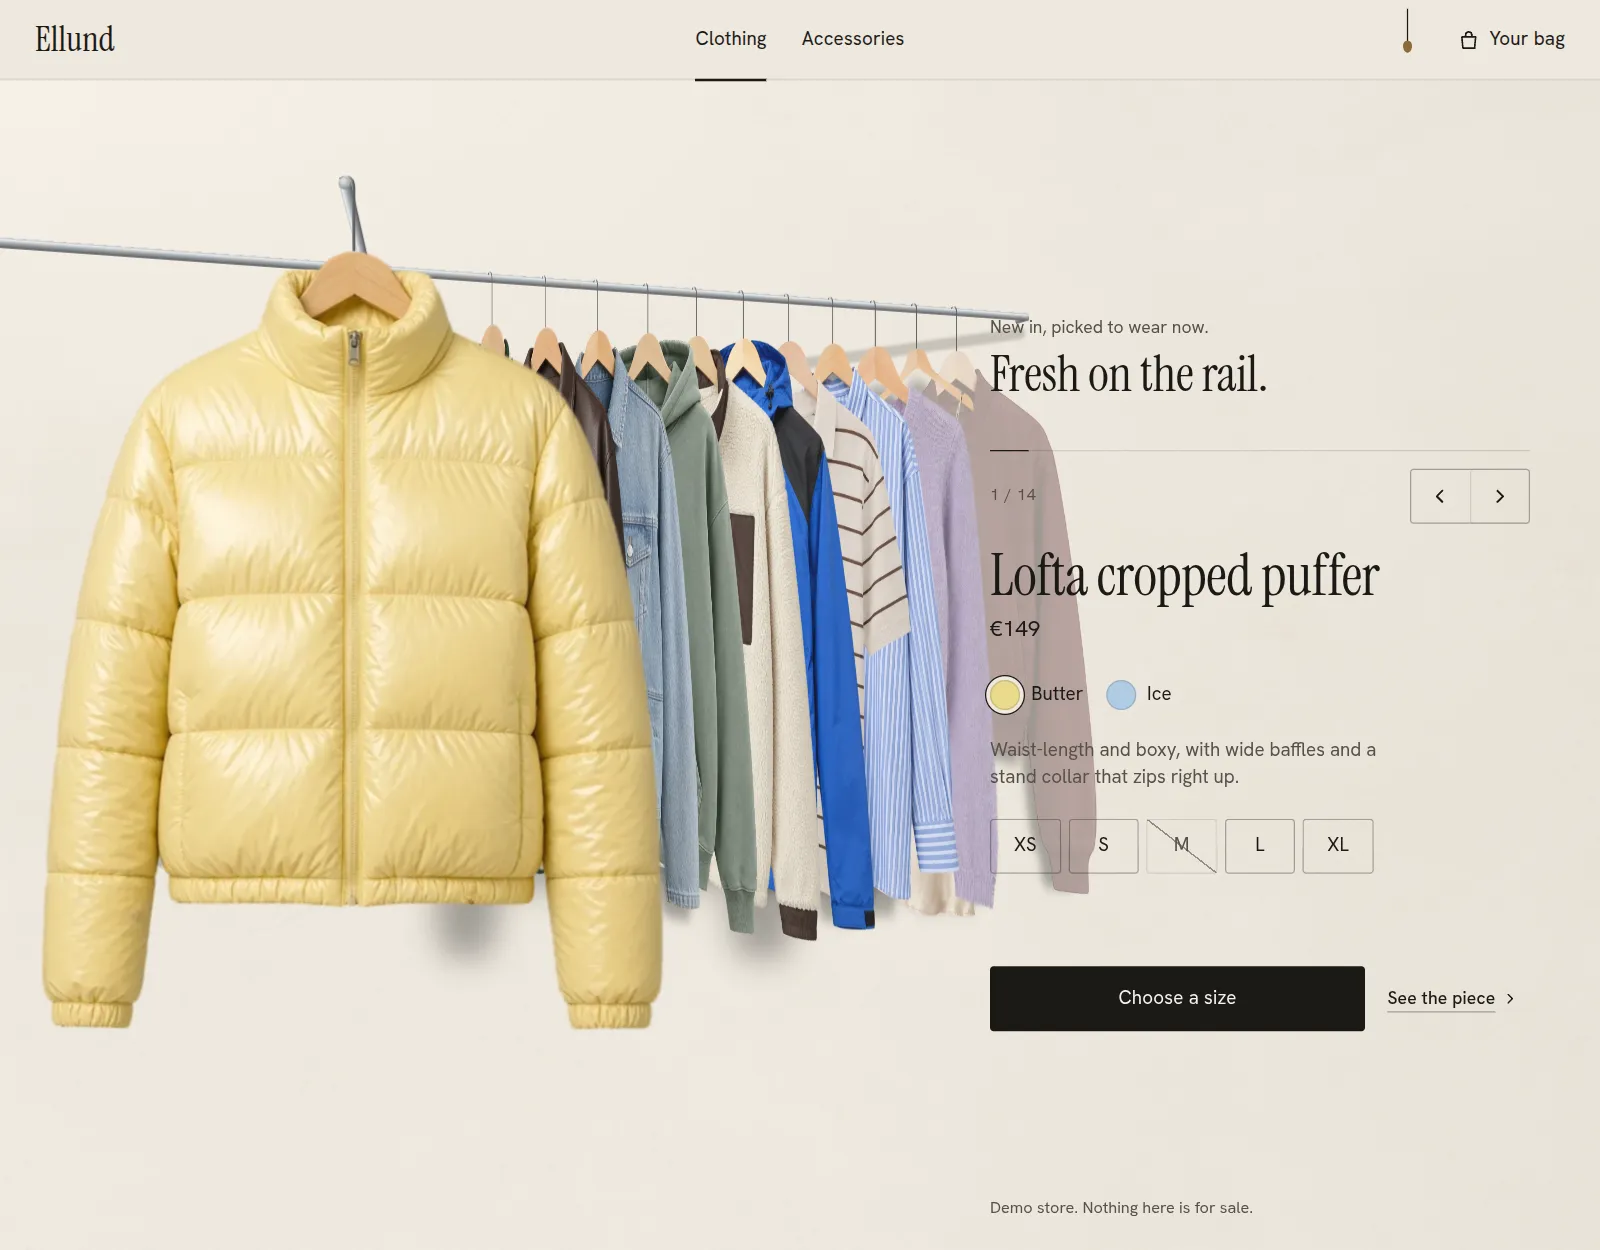
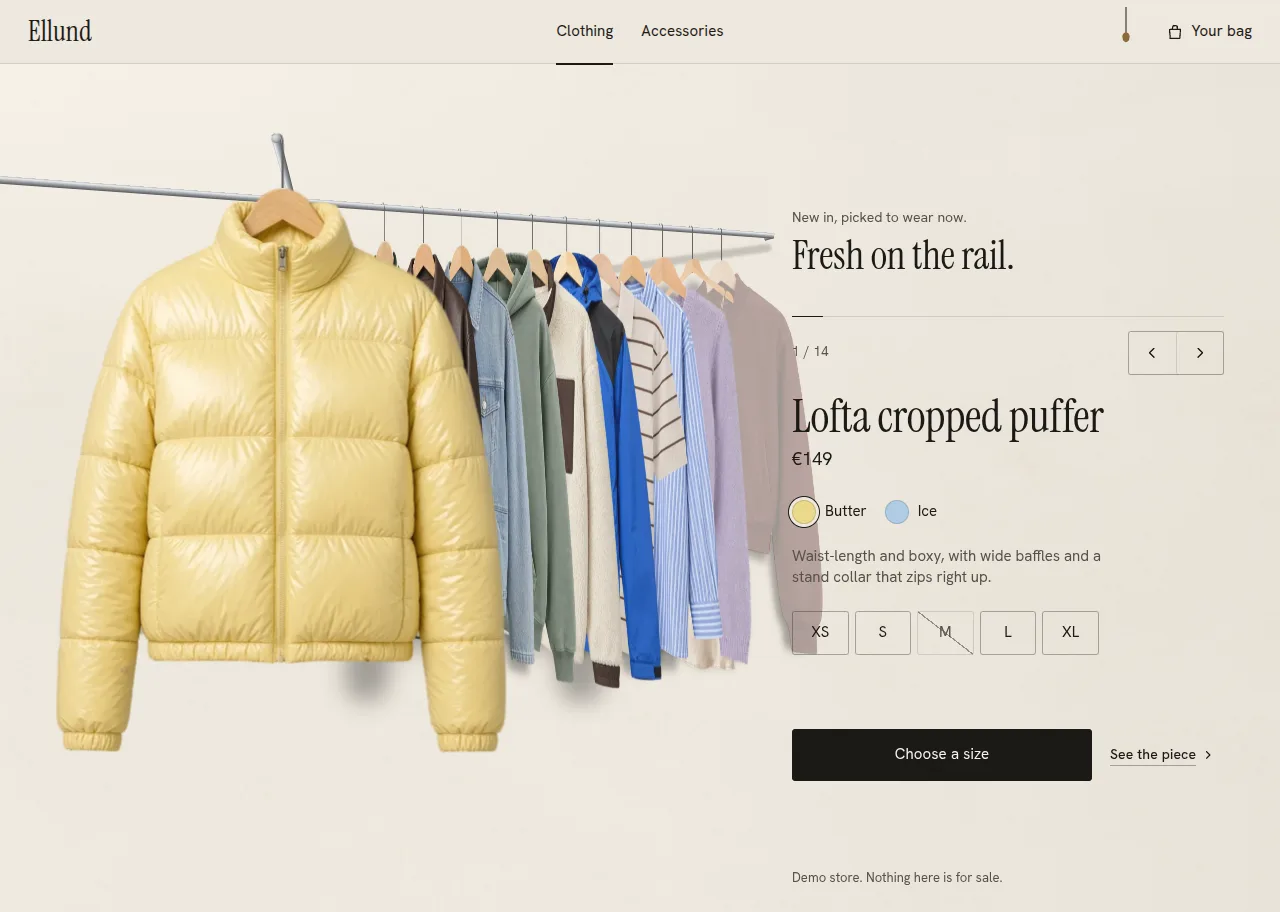
An endless 3D clothing rail for fashion stores in React: garments hang in true perspective, the piece in front faces you, and sizes, add to bag, a detail view and an accessory tray sit beside it. CSS 3D, no 3D library, light and dark.
Hangline is a clothing rail for fashion stores, in CSS 3D: garments hang on one steel rail in perspective, each from a drawn hook, each with its own soft shadow on the wall. The rail is only as convincing as its pictures. A garment must be cut out cleanly enough to stand on a light wall by day and a dark one at night, hang from the exact point where its hanger meets the hook, and change colour without moving.
This article is about the Python pipeline that makes those pictures, and the numbers the component reads from them.
Be clear about what the pictures are. Every garment and accessory picture in the demo is AI-generated, made for this product with AI image tools. PHOTOS.md lists each source file and the provenance marks it carries. The wall's plaster and the tray's oak are real CC0 scans from Poly Haven. None of the pictures is covered by the code's MIT licence: a shop replaces them with its own.
The demo has 14 garments (one of them in two colours) and 6 accessories. Each garment has four pictures:
a front on its hanger;
its back;
a worn view;
a close-up.
Each accessory has a view from above and a close-up. The pipeline is not part of the installable component, so its code below is in plain fences. All of it is in the public source, under scripts/photos, and needs Python 3 with Pillow, NumPy, OpenCV and SciPy.
What the rail needs from a picture
The component hangs every garment from a hook it draws itself. The photograph's own hook is cut away, and the drawn hook's stem meets the garment at its hook point: where the hanger's neck rises out of the wood. Everything else a garment needs comes in its photo:
export type HangerPhoto = { src: string; srcSet?: string; width: number; height: number; /** 0..1 of the photo: where the hanger's neck meets the drawn hook. */ hook: [number, number]; /** The piece's height on the rail, relative to a typical jacket (1 = about 70% of the scene's height). * Independent of the picture's resolution. Without it, the height in pixels over 900 is used. */ size?: number; /** Blurred alpha masks, for a piece near the wall and one pulled out from it. pad: how far (share of the * photo's width) each mask reaches beyond the photo on every side. */ shadow: { near: string; far: string; pad?: number }; /** The garment's silhouette as the points of a CSS polygon() in percentages of the photo * ("12.5% 0%, 88% 0%, ..."). Only this shape answers the pointer, so a piece waiting beside the front one * can be hovered and clicked through the front photo's clear margin. Without it, the whole photo answers. */ outline?: string; alt: string;};
hook places the picture. The piece's box is offset by hook[0] · w and hook[1] · h, so the hook point lands on the stem's foot, and the curl on the rail:
  const { w, h } = pieceSize(g, cw);
  const ph = cw.photo;
  const left = HOOK_STEM_OFFSET * g.hookH - ph.hook[0] * w;
  const top = g.hookH - ph.hook[1] * h;
size is the piece's height against a typical jacket, independent of the file's resolution, so an enlarged picture does not grow on the rail.
shadow.near and shadow.far are the picture's alpha, blurred at two strengths, for the wall shadows.
outline is the silhouette as a CSS polygon(), for pointing at a piece through another one's clear margin.
So a picture's quality is three things: a clean edge on every ground, a hook point that is right to a fraction of a pixel, and an alpha that is truly the garment, because the shadows and the outline are made from it.
Where the pictures came from
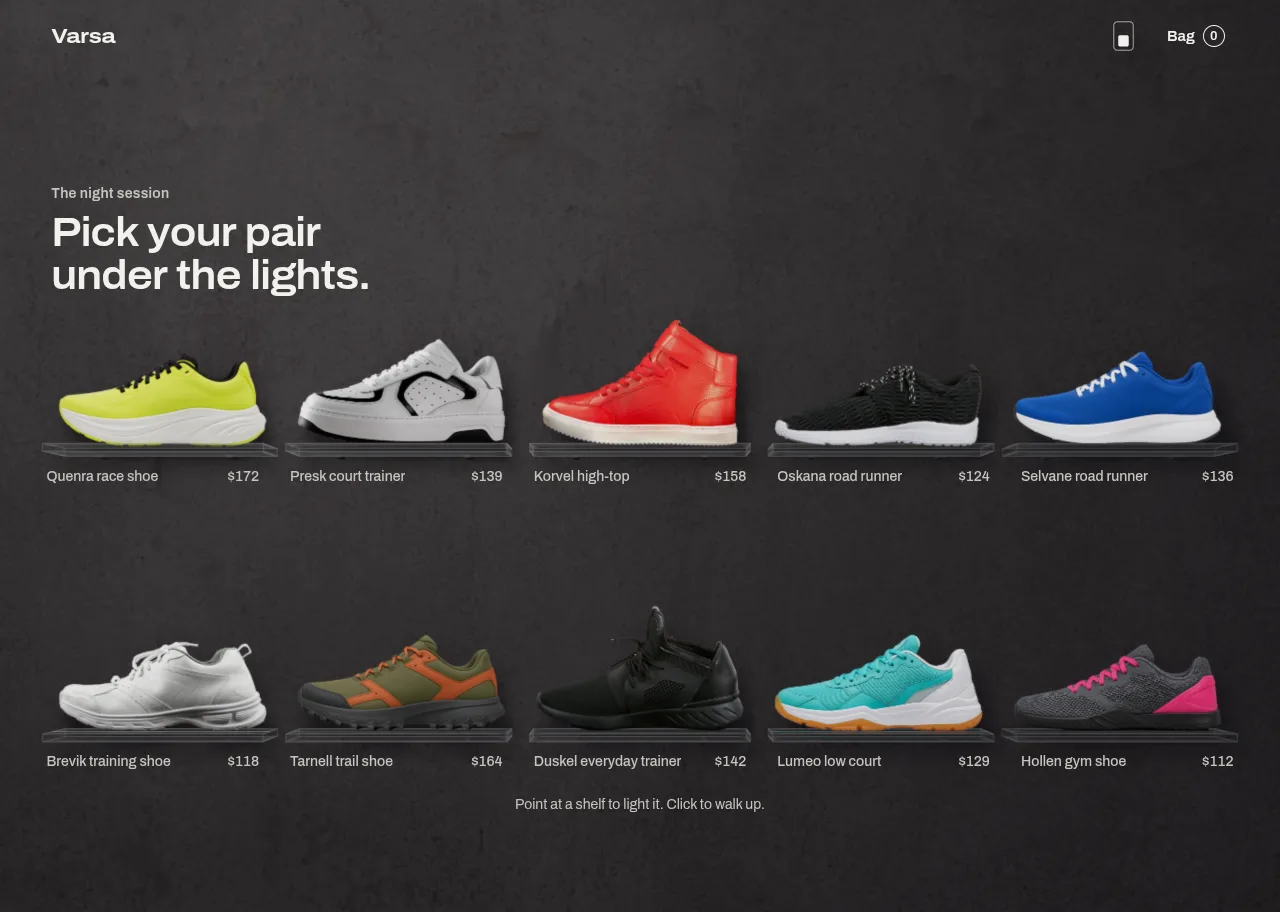
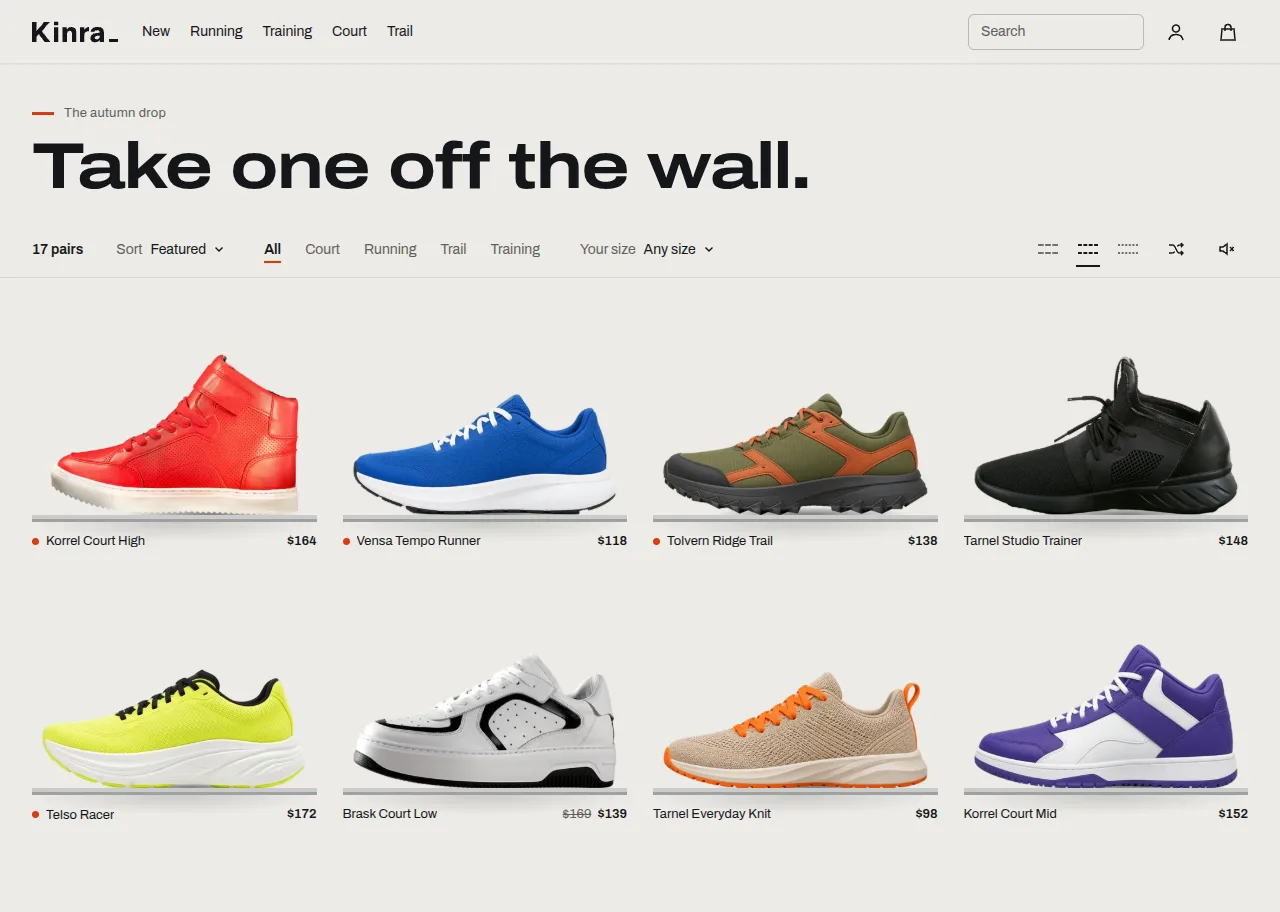
The first plan was real photographs, as for the shoe wall before it.
A generated set gets to choose its backdrop. That choice decides which garments will key, and the first choice was wrong.
The garment pictures came in two batches: hanger fronts 784 to 832 px wide first, then 1088 × 1456 px for garments and 1264 × 1264 px for accessories. The pipeline never enlarges a picture, so a smaller source simply gets fewer sizes.
The key: a fitted backdrop, asked a signed question
The backdrop's surface
A generated backdrop is not flat. It carries a gradient, a vignette, and often a soft glow behind the garment. So the pipeline first fits a smooth surface per CIELAB channel, through pixels known to be backdrop: a ring 3% wide round the frame, minus any side the piece runs off. It is a cubic in the frame's normalised coordinates, ten terms:
It is solved by least squares from at most about 60,000 samples:
def _terms(x, y): return np.stack([np.ones_like(x), x, y, x * x, y * y, x * y, x * x * y, x * y * y, x**3, y**3], -1)def fit_backdrop(lab, known_bg): h, w = lab.shape[:2] ys, xs = np.mgrid[0:h, 0:w].astype(np.float32) xs /= w ys /= h step = max(1, int(np.sqrt(known_bg.sum() / 60000))) pick = np.zeros_like(known_bg) pick[::step, ::step] = known_bg[::step, ::step] A = _terms(xs[pick], ys[pick]) full = _terms(xs, ys) model = np.empty_like(lab) for c in range(3): coef, *_ = np.linalg.lstsq(A, lab[..., c][pick], rcond=None) model[..., c] = full @ coef return model
The signed question
A pixel is material if it is lighter than the fitted backdrop at that place by more than light, darker by more than dark, or more colourful by more than chroma. The sign is what separates a garment from its shade: a shadow only darkens. This builds on L-5MHR, from the shoe wall. The defaults are 5, 9 and 6, and each file may set its own in set.json:
Zoomed to 300%, the bucket hat on the tray showed a grey band along its brim: its own cast shadow, cut out with it.
Garments the backdrop's own grey
Three garments sat on or near the backdrop's value, each in a different way.
Holes: which to fill
The gap between a hanging sleeve and the body is backdrop, and the wall must show through it. A highlight on leather that lands on the backdrop's lightness is not. The shoe wall's pipeline met this with a size limit and then with seeds (L-9XG6, L-ECJB). Garments needed a third test.
Rings needed one more rule.
The edge
A hard shape is not an edge. Each edge pixel I is a mix of the garment F and the backdrop B, I = αF + (1 − α)B, so the pipeline solves α in a band a few pixels wide round the shape. It is a projection onto the line between the two colours:
α = ((I − B) · (F − B)) / |F − B|², clamped to [0, 1]
F is the nearest pixel that is certainly inside, taken one pixel deeper than the band, because a generated image's outline is itself blurred over two or three pixels. Where F and B are closer than 18 levels, the projection is noise, and the hard shape is kept. The colour is then the garment's own, with the backdrop taken out, C = (I − (1 − α)B) / α, clamped against F and leaned on the material inside.
Three of those lines are there because the first version drew a fuzz.
The second lesson about the edge was about B itself.
The hook point
The hook point is where the hanger's neck meets its hook: the top of the thick part under the thin steel. An opening with a disk wider than the steel's stroke removes the hook and keeps the wood, so the top of what is left is the hanger's apex. The opening rounds that apex off by about its radius, so the code walks back up the original key while it stays wider than the wood.
r = max(3, int(round(6 * scale)))opened = cv2.morphologyEx(shape.astype(np.uint8), cv2.MORPH_OPEN, cv2.getStructuringElement(cv2.MORPH_ELLIPSE, (2 * r + 1, 2 * r + 1))).astype(bool)rows = np.nonzero(opened.any(1))[0]y = int(rows.min())xs = np.nonzero(opened[y:y + max(2, r // 2)].any(0))[0]x = int(round(xs.mean()))
That is right for a coat hanger's apex. The second batch brought clip hangers.
Above the hook point, the photograph's own hook is cut away: only thick parts (a collar) may stay, and nothing at all far above the apex. On export, the hook point is refined to a fraction of a pixel: its y where the apex's alpha crosses one half, and its x weighted across the apex's top rows. The canvas is then cut symmetrically about it, so every garment's hook[0] is 0.5, and it starts at the hook point, since the drawn hook stands above it.
Colourways that change without a hop
A colour change on the rail is a crossfade between two opaque pictures. The new one is decoded first, then fades in on top of the old one, which stays fully opaque until it is covered:
/** A colour change is a crossfade between two opaque, aligned pictures: the new one is decoded first, then * fades in on top of the old one, which stays fully opaque underneath until it is covered. */function PhotoLayers({ ph, w, onReady, onSrc, priority }: { ph: Colourway["photo"]; w: number; onReady: () => void; onSrc: (url: string) => void; priority: "high" | "low" }) { const first = useRef<HTMLImageElement>(null); useEffect(() => { const el = first.current; if (!el) return; let live = true; // decode() rather than the load event: a picture already in the cache before hydration never fires onLoad // (L-NK3G), and a decoded picture never shows half drawn (L-G4HZ). A picture that fails keeps its piece out // of sight: never a broken-image icon hanging on the rail. settle(el).then((ok) => { if (!live || !ok) return; onSrc(el.currentSrc || el.src); onReady(); }); return () => { live = false; }; // eslint-disable-next-line react-hooks/exhaustive-deps }, []); const [layers, setLayers] = useState<{ src: string; srcSet?: string; alt: string; fade?: boolean }[]>([{ src: ph.src, srcSet: ph.srcSet, alt: ph.alt }]); const sizes = `${Math.round(w)}px`; useEffect(() => { if (layers[layers.length - 1].src === ph.src) return; let live = true; const im = new Image(); im.sizes = sizes; if (ph.srcSet) im.srcset = ph.srcSet; im.src = ph.src; let t = 0; // a colour whose picture fails is not swapped in: the piece keeps the one it shows settle(im).then((ok) => { if (!live || !ok) return; onSrc(im.currentSrc || ph.src); setLayers((l) => [l[l.length - 1], { src: ph.src, srcSet: ph.srcSet, alt: ph.alt, fade: true }]); t = window.setTimeout(() => live && setLayers((l) => l.slice(-1)), 320); }); return () => { live = false; window.clearTimeout(t); }; // eslint-disable-next-line react-hooks/exhaustive-deps }, [ph.src]);
That only works if the two pictures overlay exactly, so each extra colour's front is registered onto the first colour's front. A scale is searched round the two sources' height ratio. For each scale, phase correlation of the blurred silhouettes gives the shift, and the intersection over union scores it:
s0 = fixed.shape[0] / moving.shape[0]for s in np.arange(0.85 * s0, 1.1505 * s0, 0.005 * s0): # a back made separately can be 10% off r = trial(float(s)) if r[3] > best[3]: best = r
The best overlay was not good enough.
Each back is matched to its front, not to anything else: its mean and spread in CIELAB, inside the garment's own mask.
def match_colour(lab_src, mask_src, lab_ref, mask_ref, strength=1.0):
    out = lab_src.copy()
    for c in range(3):
        s, r = lab_src[..., c][mask_src], lab_ref[..., c][mask_ref]
        ms, ss, mr, sr = s.mean(), s.std() + 1e-3, r.mean(), r.std() + 1e-3
        target = (lab_src[..., c] - ms) * (sr / ss if c else 1.0 + (sr / ss - 1.0) * 0.6) + mr
        out[..., c] = lab_src[..., c] + strength * (target - lab_src[..., c])
    return out
The plan had been different.
Shadows and the outline
The two shadow masks are the canvas's alpha with a margin of 18% of its width on every side, shrunk to a quarter, and blurred by 1.2% (near) and 3.5% (far) of the picture's height. They are about 10 KB each.
The outline is made from the same alpha. The silhouette is split into 24 bands of rows, and in each band the leftmost and rightmost solid pixels are taken, widened by 1.2% of the width. The left points then run down and the right points back up, as a CSS polygon in percentages:
def outline(alpha, bands=24):
    h, w = alpha.shape
    solid = alpha > 40
    rows = np.nonzero(solid.any(axis=1))[0]
    y0, y1 = int(rows.min()), int(rows.max()) + 1
    grow = 0.012 * w
    edges = np.linspace(y0, y1, bands + 1).round().astype(int)
    left, right = [], []
    for k, (a, b) in enumerate(zip(edges[:-1], edges[1:])):
        xs = np.nonzero(solid[a:max(b, a + 1)].any(axis=0))[0]
        if not len(xs):
            continue
        y = y0 - grow if k == 0 else y1 + grow if k == bands - 1 else (a + b) / 2
        left.append((max(0.0, xs.min() - grow), y))
        right.append((min(float(w), xs.max() + 1 + grow), y))
    pts = left + right[::-1]
    return ", ".join(f"{x / w * 100:.1f}% {max(0.0, min(h, y)) / h * 100:.1f}%" for x, y in pts)
An edge that looks clean on mid grey can show a rim on the night wall. So audit_edges.py takes the largest exported file of each view and lays it, at 300%, on every ground it meets in the store: the day wall and the night wall for every cut, plus the oak tray and the panel's plate (day and night) for the accessories. It writes a sheet of crops and a score per file.
The score is computed in CIELAB on the outline's ring, the pixels within 2 px inside the visible edge:
The material. Each ring pixel takes, from a distance transform, the colour of the nearest solidly inside pixel.
A grey of its own lightness. Next to that, a neutral grey of the pixel's own L* (a* = b* = 0) is what a fringe of source backdrop or shadow looks like.
Fringe. A ring pixel counts as fringe when it is more than 10 from the material, closer to that grey than to the material, and the material is clearly more colourful than the grey.
The crops are chosen too, not sampled: the outline is split into sectors round the piece's centre, and in each sector the crop goes where the ring differs most from the material inside. That audit is what showed the hat's shadow was not the only one. It also lists what the pipeline cannot clean, which waits for a remake: a ring's outer fringe, faint rods on the clip hangers, and three views of one denim piece.
The pictures in the browser
A cut-out that is right on disk can still be drawn wrong.
/** Whether a picture is ready to show: true once decoded. decode() can also reject for a picture that did load * (a window of 0 x 0, L-G4HZ), so a rejection is checked against the picture itself, and one still loading is * waited for. False only when it really failed. */export function settle(img: HTMLImageElement): Promise<boolean> { return img.decode().then( () => true, () => img.complete ? img.naturalWidth > 0 : new Promise<boolean>((resolve) => { img.addEventListener("load", () => resolve(img.naturalWidth > 0), { once: true }); img.addEventListener("error", () => resolve(false), { once: true }); }), );}
The tint that sets queued pieces back is masked by the garment's own picture. The first version loaded every front twice.
  // the tint is masked by the very file the picture chose from its srcset, so no second, larger copy loads.
  // When the piece later takes its full size, the mask keeps the smaller file: the same shape, already loaded.
  const tintEl = useRef<HTMLSpanElement | null>(null);
  const setMask = useCallback((url: string) => {
    const t = tintEl.current;
    if (!t) return;
    const v = `url("${url}")`;
    t.style.setProperty("-webkit-mask-image", v);
    t.style.setProperty("mask-image", v);
  }, []);
Sizes and formats
Every picture is exported in WebP and AVIF at 480, 960 and 1600 px where the source is wider, and at the source's own width as the largest: never wider than the source. The first view asks for the 480 px file for a queued piece and the full size only as a piece starts towards the front. The companion article covers how.
The wall and the tray
The wall's relief and the tray's oak are real scans, and each had its own trap.
What is not perfect
A few pictures wait for a remake. A ring's outer fringe, faint clip-hanger rods on two pairs of trousers, and three views of one denim piece show what the pipeline cannot clean.
Lengths are not true to life. A dress hangs about as long as the tops.
The image tools' terms are not verified. Every garment and accessory picture is AI-generated, and the tools' terms for shipping their images in an MIT product have not been checked. Check them yourself, or replace the pictures.
Edges were judged on the store's own grounds. That is the day wall, the night wall, the tray and the plates, at 300%, by score and by eye. The score is a measure of grey fringe only.
Make it yours
Install the component and give it your own pictures:
To make hanger pictures of your own, take scripts/photos from the public source:
Shoot or generate them to one rule: the garment straight on, on one kind of hanger, under one light, at one camera height, on a grey no garment crosses.
Describe each file in set.json: its crop, and whichever settings it needs (shadow, not_backdrop, keep, drop, clear_holes, band).
Runpipeline.py, then export.py.
Runaudit_edges.py, and read the crops on every ground before you trust a cut-out.
How Hangline hangs garments on a steel rail in CSS 3D alone: one camera in numbers, one number per piece, wall shadows, hanger springs and an endless rail, with 19 lessons.
Ramin ValadanProved GitHub account and website, confirmed e-mail: checked by UpFork·29 min read··AI
19 lessons
Behind the build
Behind the build · Floodlit — 3D Sneaker & Shoe Showroom for React with a WebGL Product Gallery
How Floodlit lights photographs as part of a 3D room in raw WebGL2: the line-light maths, clear acrylic with no depth buffer, soft shadows, a scanned wall, and the room in a Web Worker.
Ramin ValadanProved GitHub account and website, confirmed e-mail: checked by UpFork·24 min read··AI·3
15 lessons
Behind the build
Behind the build · Pacewall — Sneaker & Shoe Store Product Grid for React and Tailwind CSS
Why a shoe wall needs side-view cut-outs, where usable photographs come from, and a Python pipeline that keys, mattes, cleans the edge, levels the sole and measures where it meets the shelf.
Ramin ValadanProved GitHub account and website, confirmed e-mail: checked by UpFork·18 min read··AI
Comments
0 comments
No comments yet. Questions, what you built with it, what could be better: its developer reads them.
Sign in to comment.
Sign in to comment