Cut shoes out of photos so they stand exactly on a shelf: a background removal pipeline and traps
Why a shoe wall needs side-view cut-outs, where usable photographs come from, and a Python pipeline that keys, mattes, cleans the edge, levels the sole and measures where it meets the shelf.
Ramin ValadanProved GitHub account and website, confirmed e-mail: checked by UpFork·18 min read··Updated
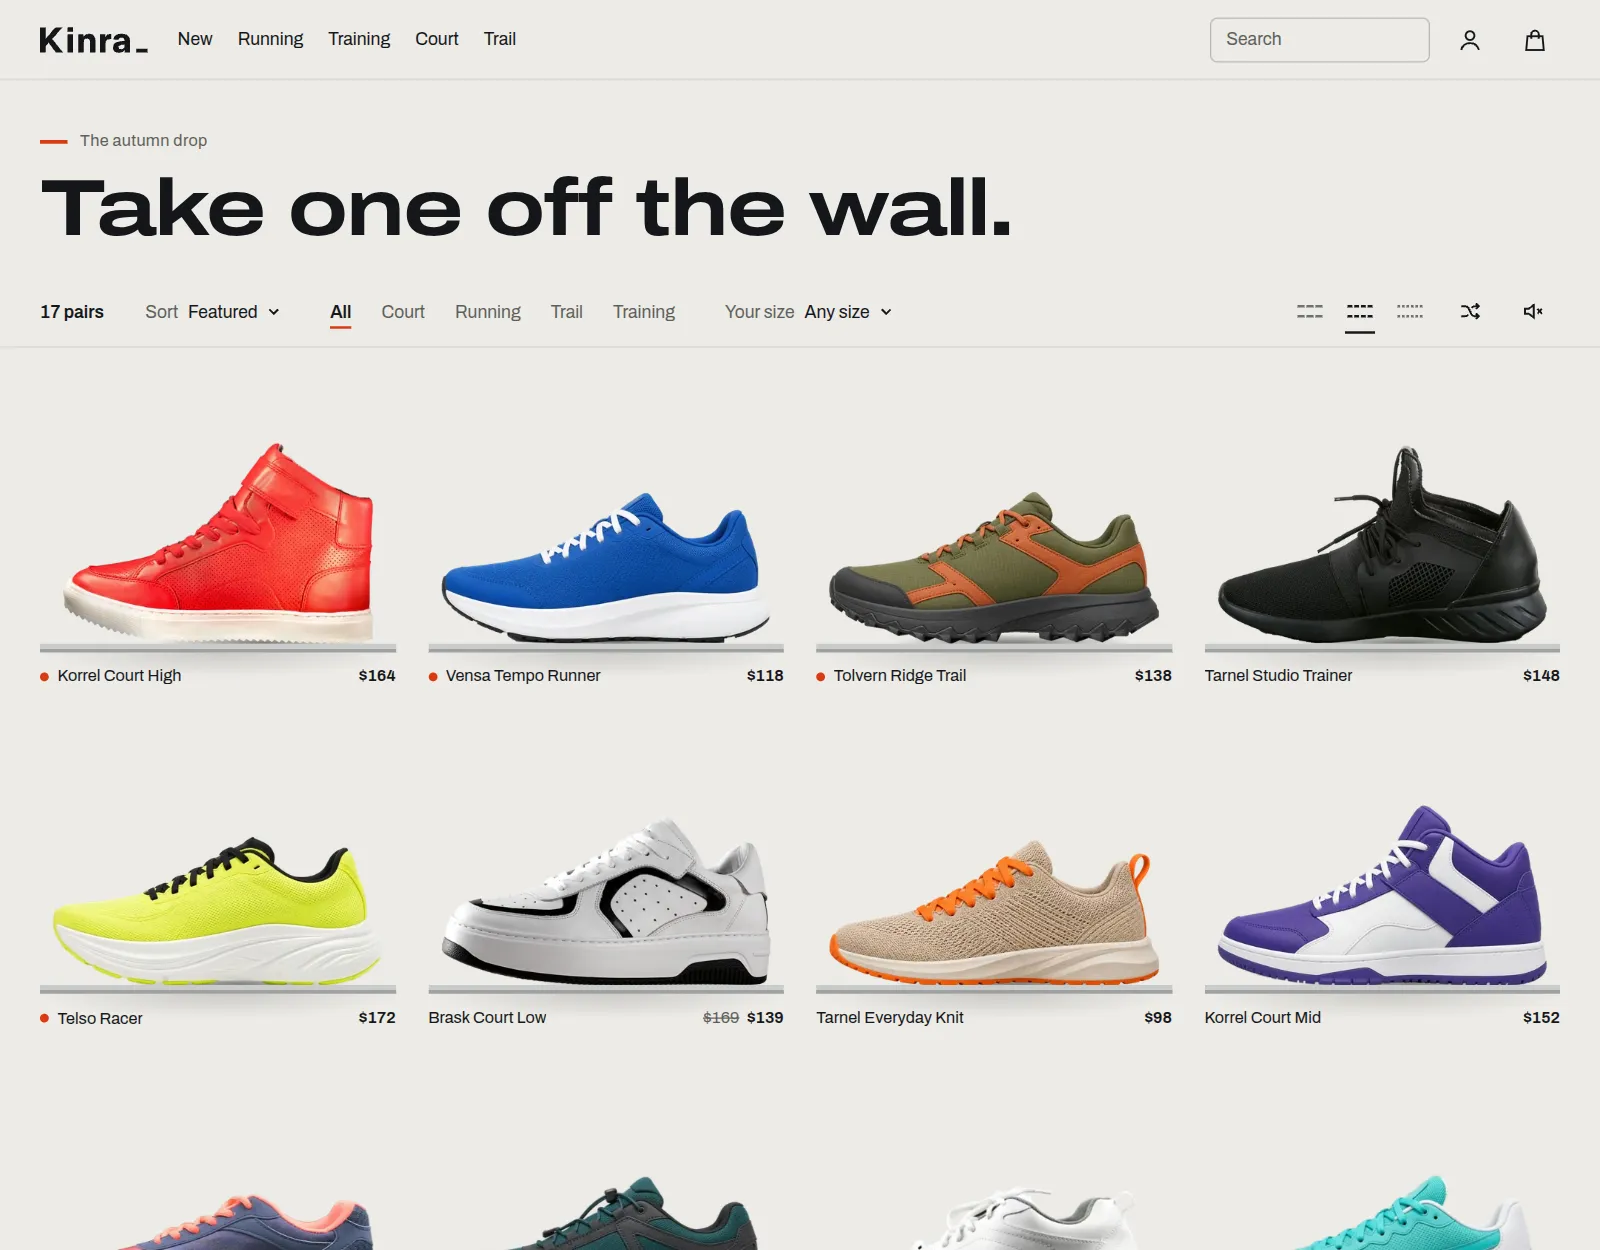
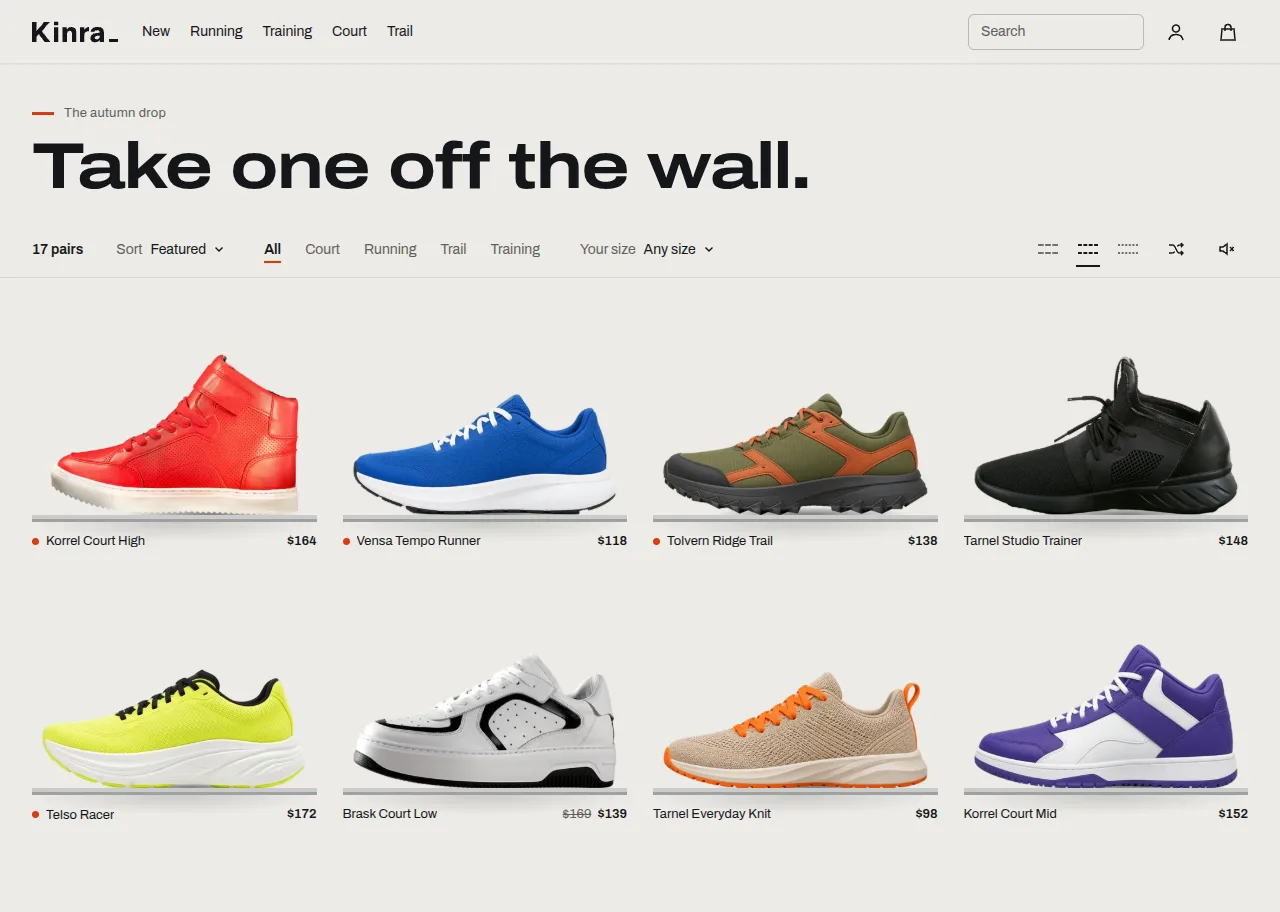
An animated product grid for shoe and sneaker stores in React and Tailwind CSS: shoes stand on slim shelves, shoppers sort and filter by size, and the shoe itself travels into a detail view with sizes and add to bag. No animation library.
Pacewall is an animated product grid for shoe stores, in which every shoe stands on a slim shelf and flies across the wall when the order changes. That only works with transparent, side-view pictures whose sole line is known to a fraction of a pixel. This article is about the Python pipeline that makes them: why the wall needs them, how usable pictures were found, and each step from a source picture to the numbers the component reads, with what went wrong at each one.
Be clear about what the pictures are. The demo holds 17 shoes: seven real photographs, kept from 888 looked at, and ten AI-generated images. Each one is listed in PHOTOS.md with its source, licence or tool, and edits. None of them falls under the product's MIT licence, and a shop should replace them with its own.
The pipeline is not part of the installable component, so the code below is in plain fences. All of it is in the public source, under scripts/photos.
Why the wall needs side-view cut-outs
A product card can crop any photograph into a rectangle. This wall cannot, for four reasons:
It has no background of its own. A shoe passes in front of other shelves and sits on a light or a dark wall, so it needs real transparency, with no fringe of the old backdrop on either theme.
It reads as a row. Side views with the toe to the left line up, and a three-quarter view next to a profile does not.
Every sole must match. Drawn at one width, shoes must have the same sole length. A high-top is made smaller on purpose, by a scale setting.
It stands on a line. Every picture has a different amount of space under the sole, so that amount has to be measured.
export type PhotoEntry = { id: string; width: number; height: number; /** 0..1 from the top: where the sole meets the shelf. */ baseline: number; /** 0..1: the part of the sole that touches the shelf. */ contact: [number, number]; hue: number; lightness: number; lqip: string; /** Widest first is last; every size exists in /shoes/. */ sizes: number[];};
baseline is where the sole ends, as a share of the picture's height. The empty part below it becomes a negative margin, so the bottom of the box is the sole. contact is the part of the sole's width that touches the shelf, and it places the contact shadow:
So the shelf's accuracy is the measurement's accuracy. Checked in Chrome across 108 layouts, the worst sole sat 0.45 px off its shelf.
Finding pictures you can use
The rules were: a licence that allows modifying and shipping the picture, a side view within about 20° of profile, nothing in the way, and no mark that can be read. The target was 18 shoes.
Source
Seen by eye
Passed every rule
Unsplash (free licence filter)
103
0
Pexels
358
3
Pixabay
268
2
Burst
26
2
Wikimedia Commons
133
0
Total
888
7
That is about one in 130. Rejections were almost all for one of three reasons: a visible maker's mark, more than about 20° off profile, or a foot or a second shoe in the way. The count is not a full survey of those sites, because the search was stopped before it finished.
Choose photographs with no mark at all, and do not edit one out. One of our seven does carry such an edit: a small printed word and device were retouched on its tongue, which PHOTOS.md records. It is the one edit here that we do not recommend.
Seven was not enough for a wall, and the same photographs had started to come back.
Cut out: the shape first, then the edge
The planned tool was rembg with the BiRefNet model. It works at 1024 px, and these pictures have plain, known backdrops, so the pipeline does without a model: it works on sources up to 3200 px wide, and a shoe took a minute or two at most on a laptop's processor. "method": "birefnet" stays available for pictures with hard backgrounds.
Cutting out is two separate questions. Which pixels are shoe at all? is answered at a working size of at most 1500 px. How transparent is each pixel at the edge? is answered afterwards at higher resolution, only in a narrow band around that shape.
The shape
Every method starts from the same model of the backdrop. Studio backdrops are not flat: they carry a gradient and a vignette. So the pipeline fits a smooth surface per channel, in LAB, through pixels known to be background, a thin ring at the picture's border plus any hand-marked areas:
Six coefficients per channel, solved by least squares from at most 60,000 samples. Subtracting the surface leaves each pixel's difference from the backdrop. The photographs then go through a graph cut, cv2.grabCut, seeded from that distance: far from the backdrop is sure shoe, the border is sure background, and the cut decides what lies between.
The generated images have plain grey backdrops, and many of those shoes have white or grey soles. There the graph cut failed.
# Under the sole the backdrop carries the shoe's shadow: there it takes more to count as shoe.low = rule.get("below")if low: line = int((low["y"] - origin[1]) * small) shape[line:] = ( (delta[line:, :, 0] > low.get("light", rule["light"])) | (delta[line:, :, 0] < -low.get("dark", rule["dark"])) | (chroma[line:] > low.get("chroma", rule["chroma"])) )
No threshold could finish the job on its own, and the reason is worth knowing before you try.
Seeds are absolute: the shape takes them after every rule, shape = (shape | fg_seed) & ~bg_seed, and the matting may not undo them either.
Real holes and false ones
A pull loop or a lace gap is a real hole, and the wall must show through it. A groove in a sole is not. Getting that right took three tries.
The two photographs that came already cut out onto pure white needed yet another rule.
The edge: closed-form matting
A hard shape is not an edge. Each edge pixel is a blend of the shoe and the backdrop:
Iᵢ = αᵢFᵢ + (1 − αᵢ)Bᵢ
That is three equations and seven unknowns per pixel, so it needs an assumption. Closed-form matting (Levin, Lischinski and Weiss, 2008) assumes that within a small window the foreground and background colours each lie on a line. Then alpha is a linear function of colour in that window, αᵢ ≈ a·Iᵢ + b, and the window's a and b can be eliminated. What remains is a quadratic cost αᵀLα, where L is the matting Laplacian, minimised with the known pixels fixed. That is one sparse linear system, with no training data.
Known pixels come from a trimap: certainly shoe, certainly not, and an unknown band whose width is band, 3 or 4 pixels on small sources and up to 9 on large ones:
band = shoe.get("band", 9)inside = ndi.binary_erosion(solid, iterations=band)outside = ~ndi.binary_dilation(solid, iterations=band)# Seeds are certain: the matting may not undo them.inside |= polygons(shoe.get("fg"), origin, work, (wh, ww))trimap = np.full((wh, ww), 0.5, np.float64)trimap[inside] = 1.0trimap[outside] = 0.0alpha = pymatting.estimate_alpha_cf( image.astype(np.float64) / 255, trimap, laplacian_kwargs={"epsilon": 1e-6},)
The matting is the slow step, so its result is cached per shoe:
if cache.exists() and not shoe.get("no_cache"):
    return np.asarray(Image.open(cache).convert("L"), np.float32) / 255
Clean the edge
Alpha alone leaves the old backdrop's colour in the rim, and that shows as a fringe on the opposite wall. clean_edge replaces the colour of the rim's pixels, in three moves:
Tighten: a small cut, 3% by default, removes the faintest alpha, which is mostly noise.
Estimate the foreground:estimate_foreground_ml solves for the pure shoe colour behind each blended pixel.
Lean on the material:distance_transform_edt with return_indices finds each pixel's nearest solid interior pixel. The rim takes 45% of that colour, and may be at most rim_allow levels brighter than it. A pale rim on a dark shoe is the halo that shows on a dark wall, which is what L-9VVE warns of.
The edge step cannot deal with colour that is inside the shoe.
Level the sole
A shoe that stands on a shelf cannot lean. sole_tilt finds the lowest point of the mask in two bands of the shoe's length, 10–42% and 62–92%, roughly the heel and the ball of the foot, and takes the angle of the line through them:
for lo, hi in ((0.10, 0.42), (0.62, 0.92)): col_a, col_b = int(x0 + lo * w), int(x0 + hi * w) bottoms = [(c, np.where(mask[:, c])[0][-1]) for c in range(col_a, col_b) if mask[:, c].any()] c, y = max(bottoms, key=lambda p: p[1]) lows.append((float(c), float(y)))(xa, ya), (xb, yb) = lowsreturn float(np.degrees(np.arctan2(yb - ya, xb - xa)))
The picture is rotated by that angle. It also turned out to be a good test of everything before it.
A floor shadow can also be as dark as the lugs beside it, and then neither a rule nor a gate can tell them apart. Those were traced by hand, as erase polygons in the finished picture's pixels, with a slight blur on the edge of the cut. On four generated shoes the lug line or the shadow at the ends is hand-traced, and at full size the lug tips on one of them look a little cut.
Normalise, export, measure
After levelling, each shoe is cropped tight, scaled so that its sole is 2000 px long, and given a margin of 4% of the sole's length. It is never scaled up, because nothing here invents detail:
target = MASTER_SOLE_PX * shoe.get("scale", 1.0)factor = min(target / sole_len, 1.0) # never above the source: no invented detail
The canvas follows the full sole length, even for a shoe with a scale below 1, so all pictures keep the same proportions and draw at one width with matching soles.
The export writes WebP at 480, 960 and 2000 px, never wider than the master, within 70 KB at 960 and 280 KB at 2000. It also writes AVIF, kept when its decode costs at most twice WebP's. It measured 0.68× with Pillow, but not on its own in Chrome. A low-quality placeholder under 400 bytes goes in as a data address.
The last step is the one the wall depends on. The sole line and contact range are measured on the finished master:
alpha = np.asarray(master.getchannel("A")) > 128bottom = int(np.where(alpha.any(axis=1))[0][-1])# A lugged sole only touches at its tips, so its shadow reads from a deeper band.band = alpha[max(0, bottom - round(master.width * shoe.get("contact_band", 0.012))) : bottom + 1].any(axis=0)cols = np.where(band)[0]m["contact"] = [round(float(cols[0] / master.width), 4), round(float((cols[-1] + 1) / master.width), 4)]m["baseline"] = round((bottom + 1) / master.height, 4)
bottom + 1 matters: the baseline is the line under the last row of the sole, not through it. The generated photos.ts then holds these numbers along with hue for the colour sort, and lightness for the next problem.
Standing on a dark wall
One shoe is black, the wall in the dark theme is nearly black too, and the requirement was an outline standing at least 1.6:1 off the wall.
/* A black shoe in a dark room: its outline must stand 1.6:1 off the wall. */.pw-root[data-theme="dark"] [data-tone="dark"] .pw-img,:where(.dark) .pw-root[data-theme="auto"] [data-tone="dark"] .pw-img { filter: brightness(1.32);}
Edges were inspected by eye, at 100% of the master and at about 250% of a medium slot, on mid-grey, the dark wall and magenta. No halo was measured with numbers.
Two shoes come from 1280 px previews, seven from 1168 px images and three from 1536 px ones. Only five shoes have a 2000 px export, and views exist only on those.
The tips of the lugs on one shoe and the back of the heel on another are a little less clean at full size than the rest.
The terms of the two image tools for shipping their images in an MIT product are not verified. Check them yourself, or replace the pictures.
Make it yours
Install the component and give it your own pictures:
To make cut-outs of your own, take scripts/photos from the public source. It needs Pillow, NumPy, SciPy, OpenCV and PyMatting. Source pictures do not ship with it, so add yours and describe each in shoes.json: its source file, its crop, and whichever of the settings above it needs. For a new shoe, start from plain on a plain backdrop, tune with PW_SHAPE_ONLY=1, read the printed angle, and look at the result on a dark wall and on magenta before you trust it.
How a shoe flies from a shelf into its detail view on the Web Animations API: the measuring, one flight for every move, and how a 178 ms click became 75 ms, with what still misses budget.
Ramin ValadanProved GitHub account and website, confirmed e-mail: checked by UpFork·28 min read··AI
18 lessons1
Behind the build
Behind the build · Floodlit — 3D Sneaker & Shoe Showroom for React with a WebGL Product Gallery
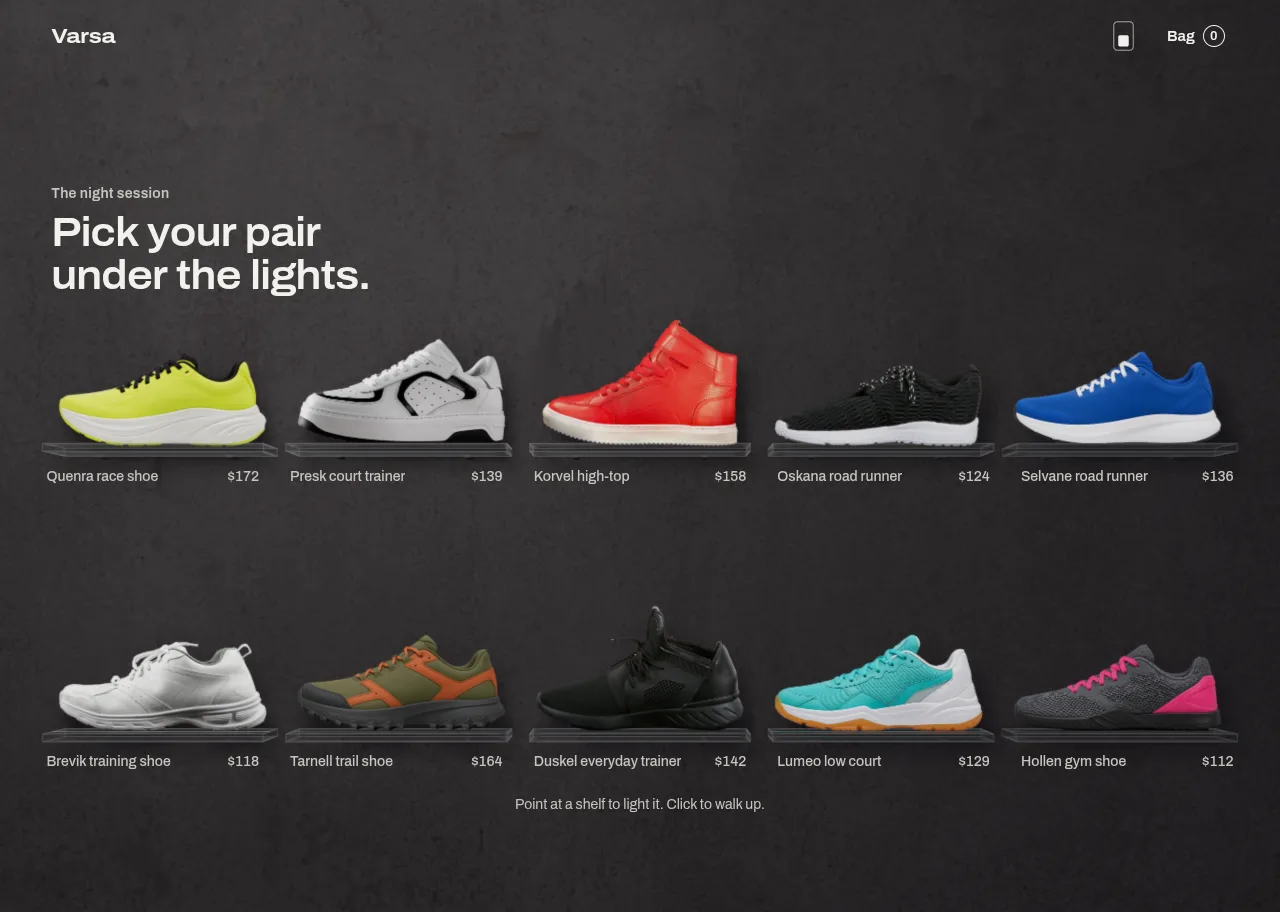
How Floodlit lights photographs as part of a 3D room in raw WebGL2: the line-light maths, clear acrylic with no depth buffer, soft shadows, a scanned wall, and the room in a Web Worker.
Ramin ValadanProved GitHub account and website, confirmed e-mail: checked by UpFork·24 min read··AI·2
15 lessons
Design
Design · Floodlit — 3D Sneaker & Shoe Showroom for React with a WebGL Product Gallery
How Floodlit's camera walks up to a shoe on springs that never snap, how buying works inside the 3D room, and how a real HTML wall lands where WebGL draws, by CSS alone.
Ramin ValadanProved GitHub account and website, confirmed e-mail: checked by UpFork·28 min read··AI·1
Comments
0 comments
No comments yet. Questions, what you built with it, what could be better: its developer reads them.
Sign in to comment.
Sign in to comment